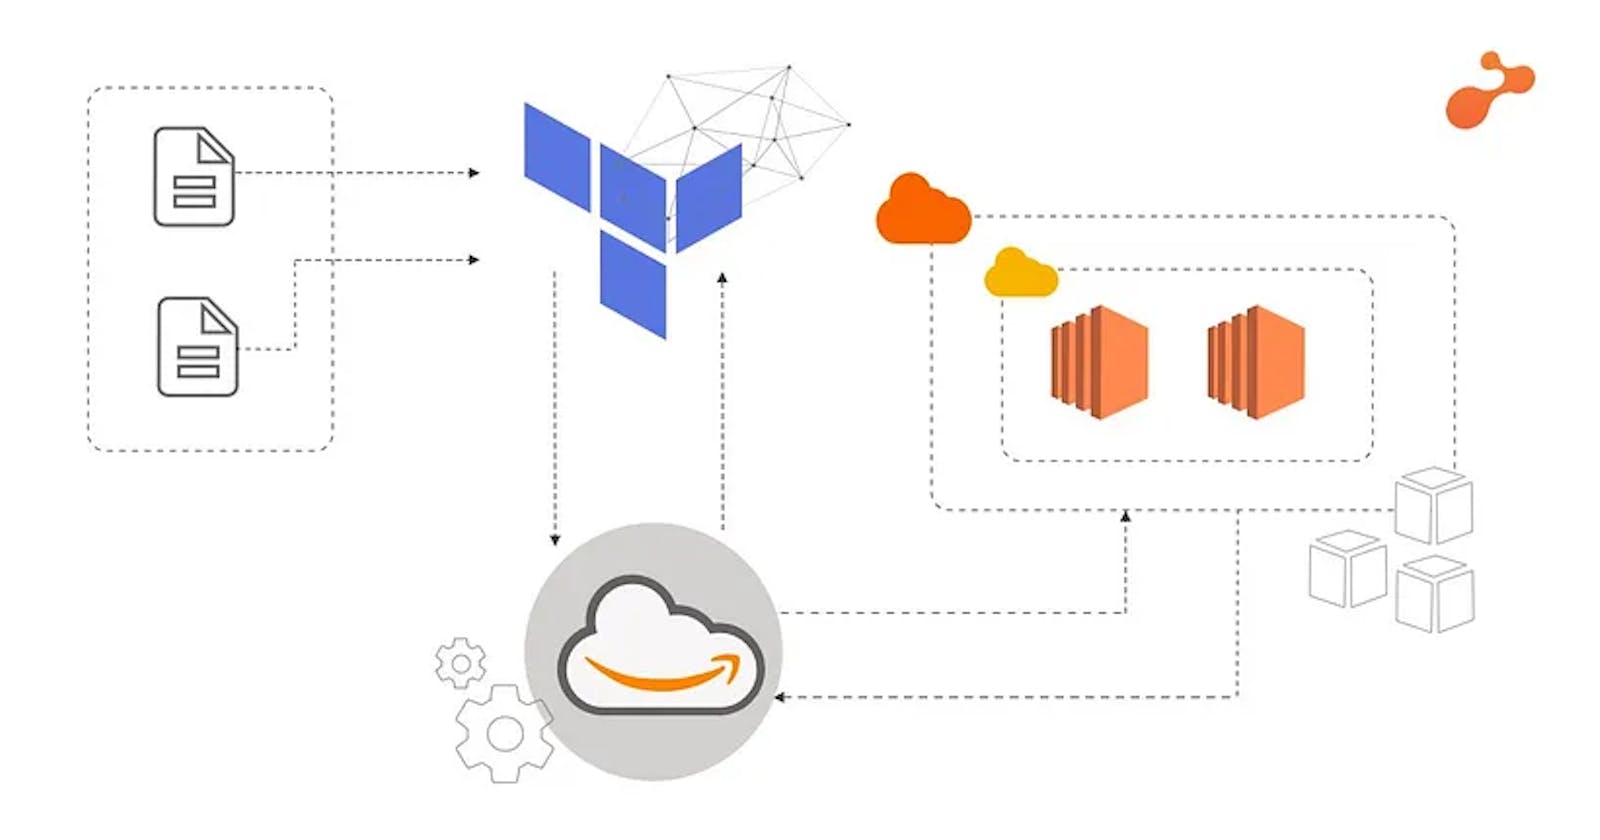
DevOps Project to Host a static website on AWS using Terraform automation.
Terraform for cloud automation
Problem statement:
Create the private key and security group which allows port 80.
Launch Amazon AWS EC2 instance.
In this EC2 instance use the key and security group which we have created in step 1 to log in remotely or locally.
Launch one Volume (EBS) and mount that volume into /var/www/html.
The code is uploaded into the GitHub repo also the repo has an image.
Copy the GitHub repo code into /var/www/html.
Create an S3 bucket, copy/deploy the image from the GitHub repo into the s3 bucket and change the permission to public readable.
Create a Cloudfront using an S3 bucket(which contains image) and use the Cloudfront URL to update in code in /var/www/html.
Prerequisites: Having an AWS account, installing the latest version of AWS CLI on your machine, and installing the latest version of Terraform.
The language used in Terraform is HCL(HashiCorp Language) and "you don't have to be perfect in that language to use it in your project".
Step 1: Create an IAM role in AWS, download the access key pair, and configure it through your AWS CLI.
aws configure --profile name
aws configure list-profiles

Step 2: Set up the provider for terraform i.e. AWS, and log in to our console AWS using the profile configured.
//Describing Provider
provider "aws" {
  region  = "ap-south-1"
  profile = "vishal"
}
Step 3:Generating a key, and key-value pair, and save it as a .pem file in the system.
//Creating Key
resource "tls_private_key" "tls_key" {
  algorithm = "RSA"
}

//Generating Key-Value Pair
resource "aws_key_pair" "generated_key" {
  key_name   = "vishal1-env-key"
  public_key = "${tls_private_key.tls_key.public_key_openssh}"

  depends_on = [
    tls_private_key.tls_key
  ]
}


//Saving Private Key PEM File
resource "local_file" "key-file" {
  content  = "${tls_private_key.tls_key.private_key_pem}"
  filename = "vishal1-env-key.pem"

  depends_on = [
    tls_private_key.tls_key
  ]
}
Step 4: Create the variable ID for AMI [Amazon machine image], and Type as t2 which is free tier.
//Creating Variable for AMI_ID
variable "ami_id" {
  type    = string
  default = "ami-0447a12f28fddb066"
}

//Creating Variable for AMI_Type
variable "ami_type" {
  type    = string
  default = "t2.micro"
}
Step 5: Creating security groups for EC2 instance.
//Creating Security Group
resource "aws_security_group" "web-SG" {
  name        = "Terraform-SG"
  description = "Web Environment Security Group"


  //Adding Rules to Security Group
  ingress {
    description = "SSH Rule"
    from_port   = 22
    to_port     = 22
    protocol    = "tcp"
    cidr_blocks = ["0.0.0.0/0"]
  }


  ingress {
    description = "HTTP Rule"
    from_port   = 80
    to_port     = 80
    protocol    = "tcp"
    cidr_blocks = ["0.0.0.0/0"]
  }
}
Step 6: Create an S3 [Simple storage service] bucket in public-read access mode and upload an image into it.
//Creating a S3 Bucket for Terraform Integration
resource "aws_s3_bucket" "vishal-bucket" {
  bucket = "vishal-static-data-bucket"
  acl    = "public-read"
}

//Putting Objects in S3 Bucket
resource "aws_s3_bucket_object" "web-object1" {
  bucket = "${aws_s3_bucket.vishal-bucket.bucket}"
  key    = "vishal.png"
  source = "/home/vishal/Desktop/terr/vishal.png"
  acl    = "public-read"
}
Step 7: Create and launch the instance with the name "web".
//Launching EC2 Instance
resource "aws_instance" "web" {
  ami             = "${var.ami_id}"
  instance_type   = "${var.ami_type}"
  key_name        = "${aws_key_pair.generated_key.key_name}"
  security_groups = ["${aws_security_group.web-SG.name}","default"]

  //Labelling the Instance
  tags = {
    Name = "Web-Env"
    env  = "Production"
  }

  depends_on = [
    aws_security_group.web-SG,
    aws_key_pair.generated_key
  ]
}
Step 8: Final Step is to create a website using the null resource, local_exec, remote_exec, and Volume to store data.
resource "null_resource" "remote1" {

  depends_on = [ aws_instance.web, ]
  //Executing Commands to initiate WebServer in Instance Over SSH
  provisioner "remote-exec" {
    connection {
      agent       = "false"
      type        = "ssh"
      user        = "ec2-user"
      private_key = "${tls_private_key.tls_key.private_key_pem}"
      host        = "${aws_instance.web.public_ip}"
    }

    inline = [
      "sudo yum install httpd git -y",
      "sudo systemctl start httpd",
      "sudo systemctl enable httpd",
    ]

}

}

//Creating EBS Volume
resource "aws_ebs_volume" "web-vol" {
  availability_zone = "${aws_instance.web.availability_zone}"
  size              = 1

  tags = {
    Name = "ebs-vol"
  }
}


//Attaching EBS Volume to a Instance
resource "aws_volume_attachment" "ebs_att" {
  device_name  = "/dev/sdh"
  volume_id    = "${aws_ebs_volume.web-vol.id}"
  instance_id  = "${aws_instance.web.id}"
  force_detach = true


  provisioner "remote-exec" {
    connection {
      agent       = "false"
      type        = "ssh"
      user        = "ec2-user"
      private_key = "${tls_private_key.tls_key.private_key_pem}"
      host        = "${aws_instance.web.public_ip}"
    }

    inline = [
      "sudo mkfs.ext4 /dev/xvdh",
      "sudo mount /dev/xvdh /var/www/html/",
      "sudo rm -rf /var/www/html/*",
      "sudo git clone https://github.com/VishalPraneeth/Terraform-AWS.git /var/www/html/",
    ]
  }


  depends_on = [
    aws_instance.web,
    aws_ebs_volume.web-vol
  ]
}
We're using a null resource for remote execution, through ssh with root access to install any required software packages. And therefore git and httpd have been installed through commands.
Step 9: EBS Snapshot Creation and Attachment
 //Creating EBS Snapshot
resource "aws_ebs_snapshot" "ebs_snapshot" {
  volume_id   = "${aws_ebs_volume.web-vol.id}"
  description = "Snapshot of our EBS volume"

  tags = {
    env = "Production"
  }
  depends_on = [
    aws_volume_attachment.ebs_att
  ]
}

# public ip
output "IP_of_inst" {
  value = aws_instance.web.public_ip
}
We're creating a backup of our volume with ebs snapshot, and can be used when we require the data.
Store this whole code in one file named filename.tf and execute using the below commands, It takes time to build such a huge infrastructure so be patient and try to understand the output.
terraform init
terraform validate
terraform plan
terraform apply -auto-approve
Let's see the services we've created with this code.

It's time for us now to delete/destroy the infrastructure.
Just run the below command to destroy
terraform destroy -auto-approve
The output:

And we're done🥳

I'm pinning my GitHub repo link, you can go through the code and understand it.
Guys, you can connect with me on LinkedIn and GitHub
Thank you for staying till the end of this project, Do Star my Repo, and feedback is appreciated on my blog if you loved it. And yes, All the Best for your project….👍✨

If you run an organization and want me to write content for you, please do connect with me 🤝.
